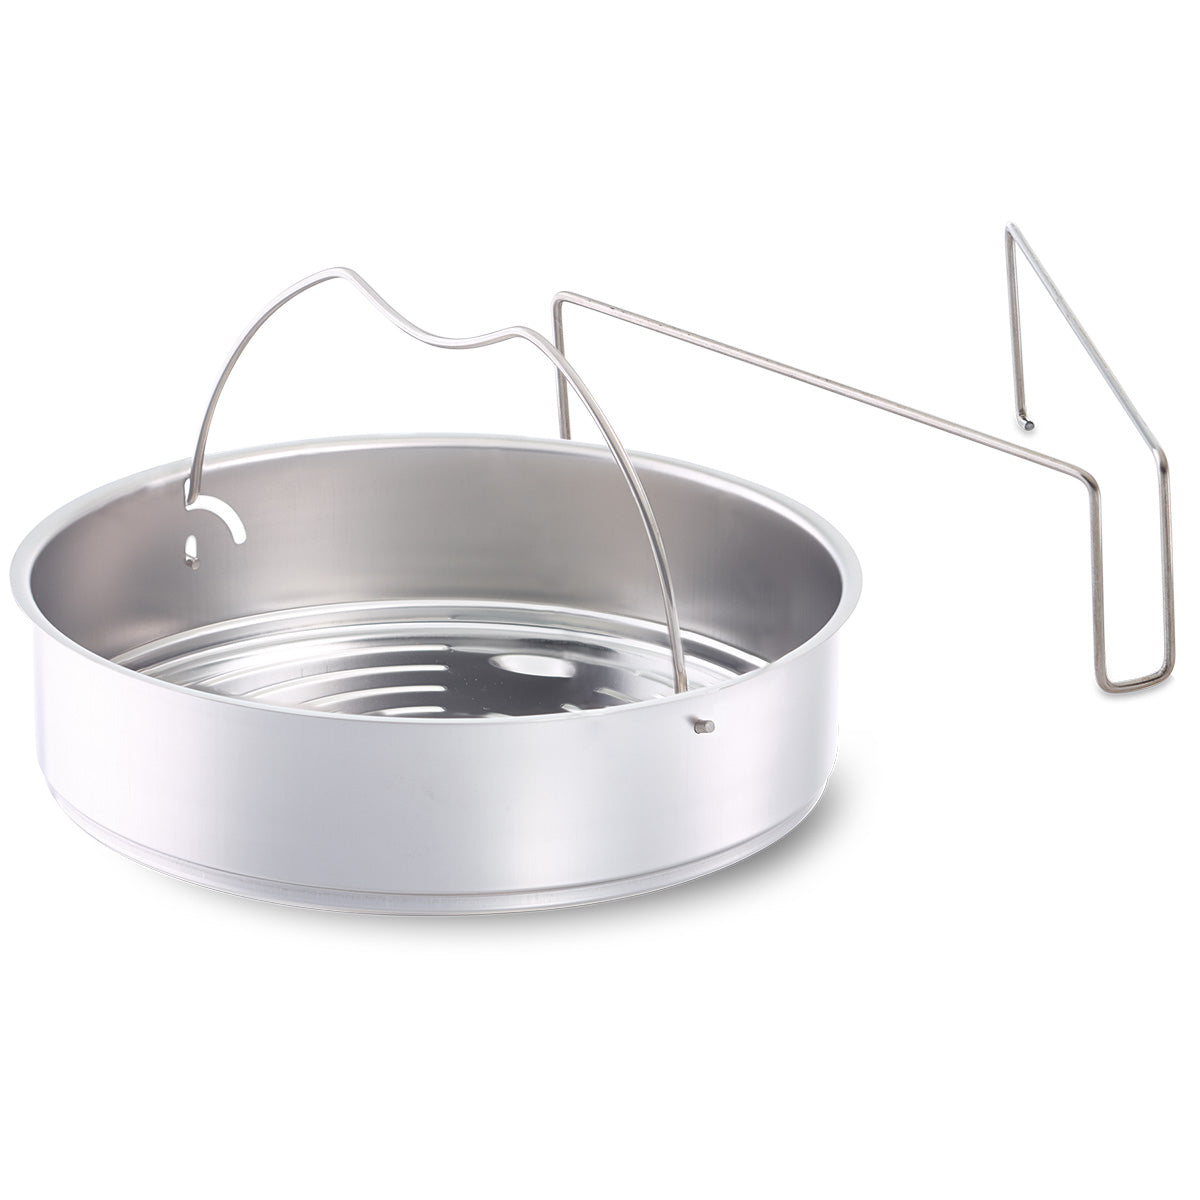
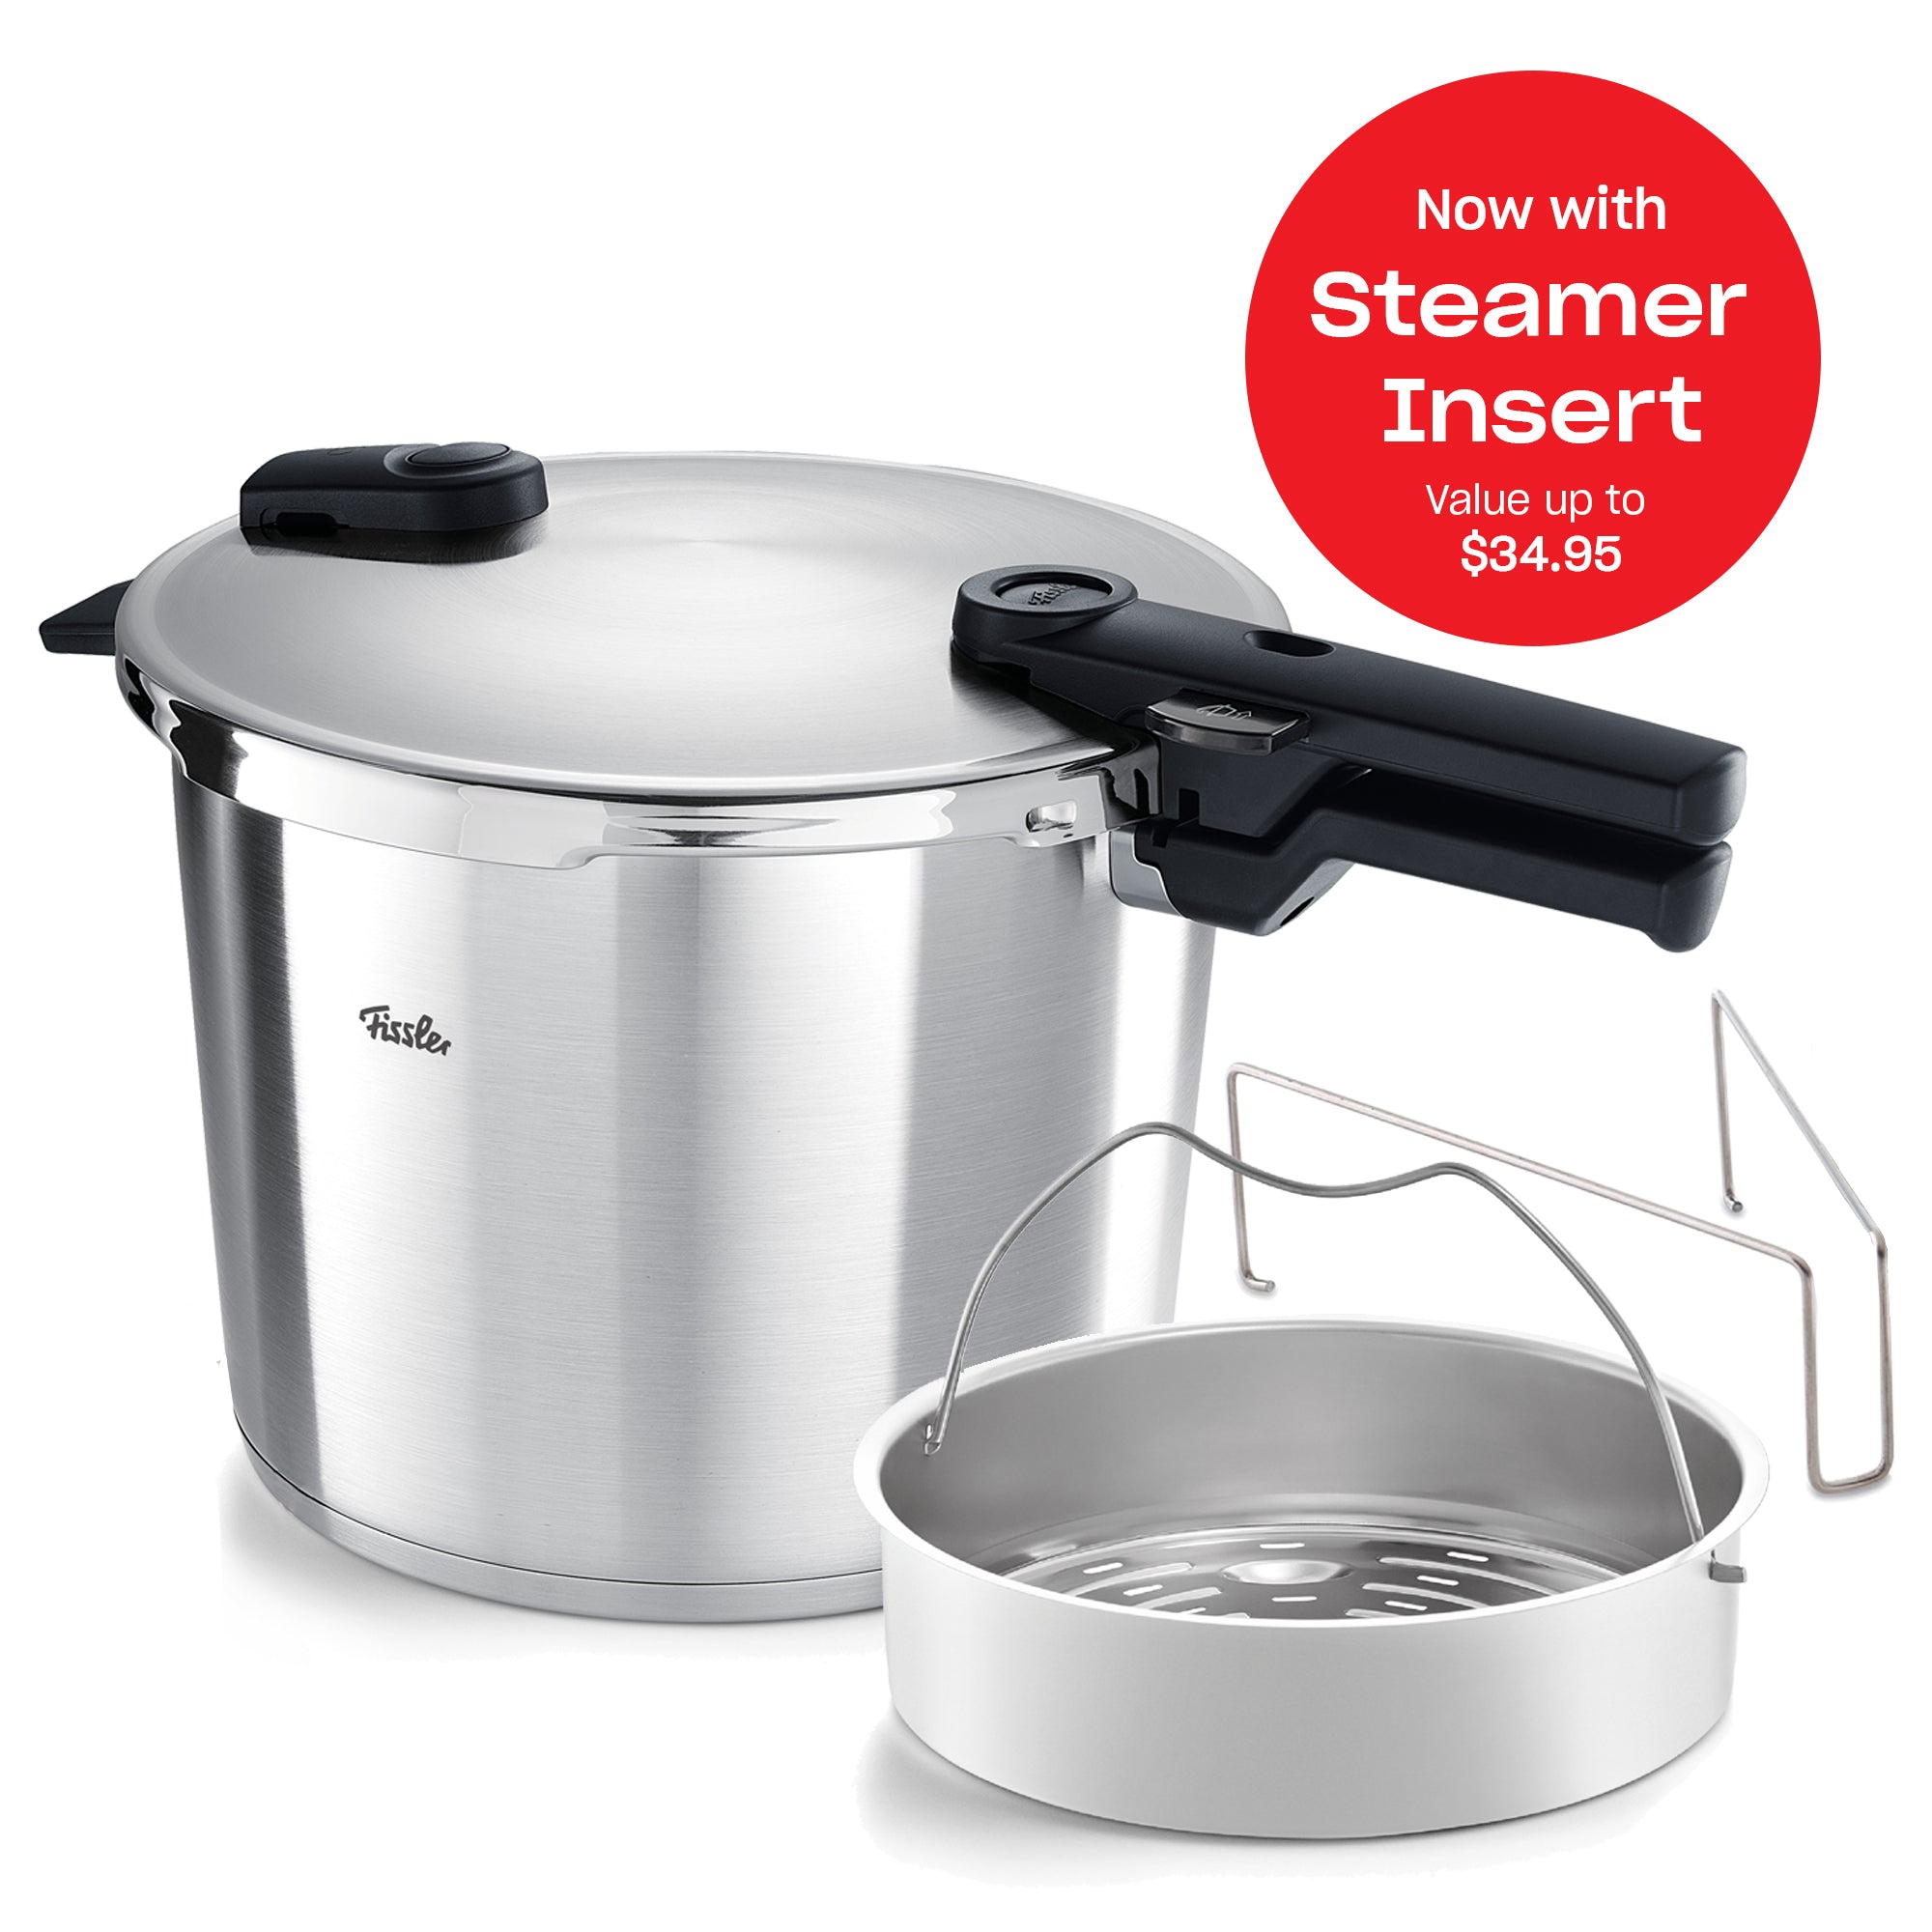
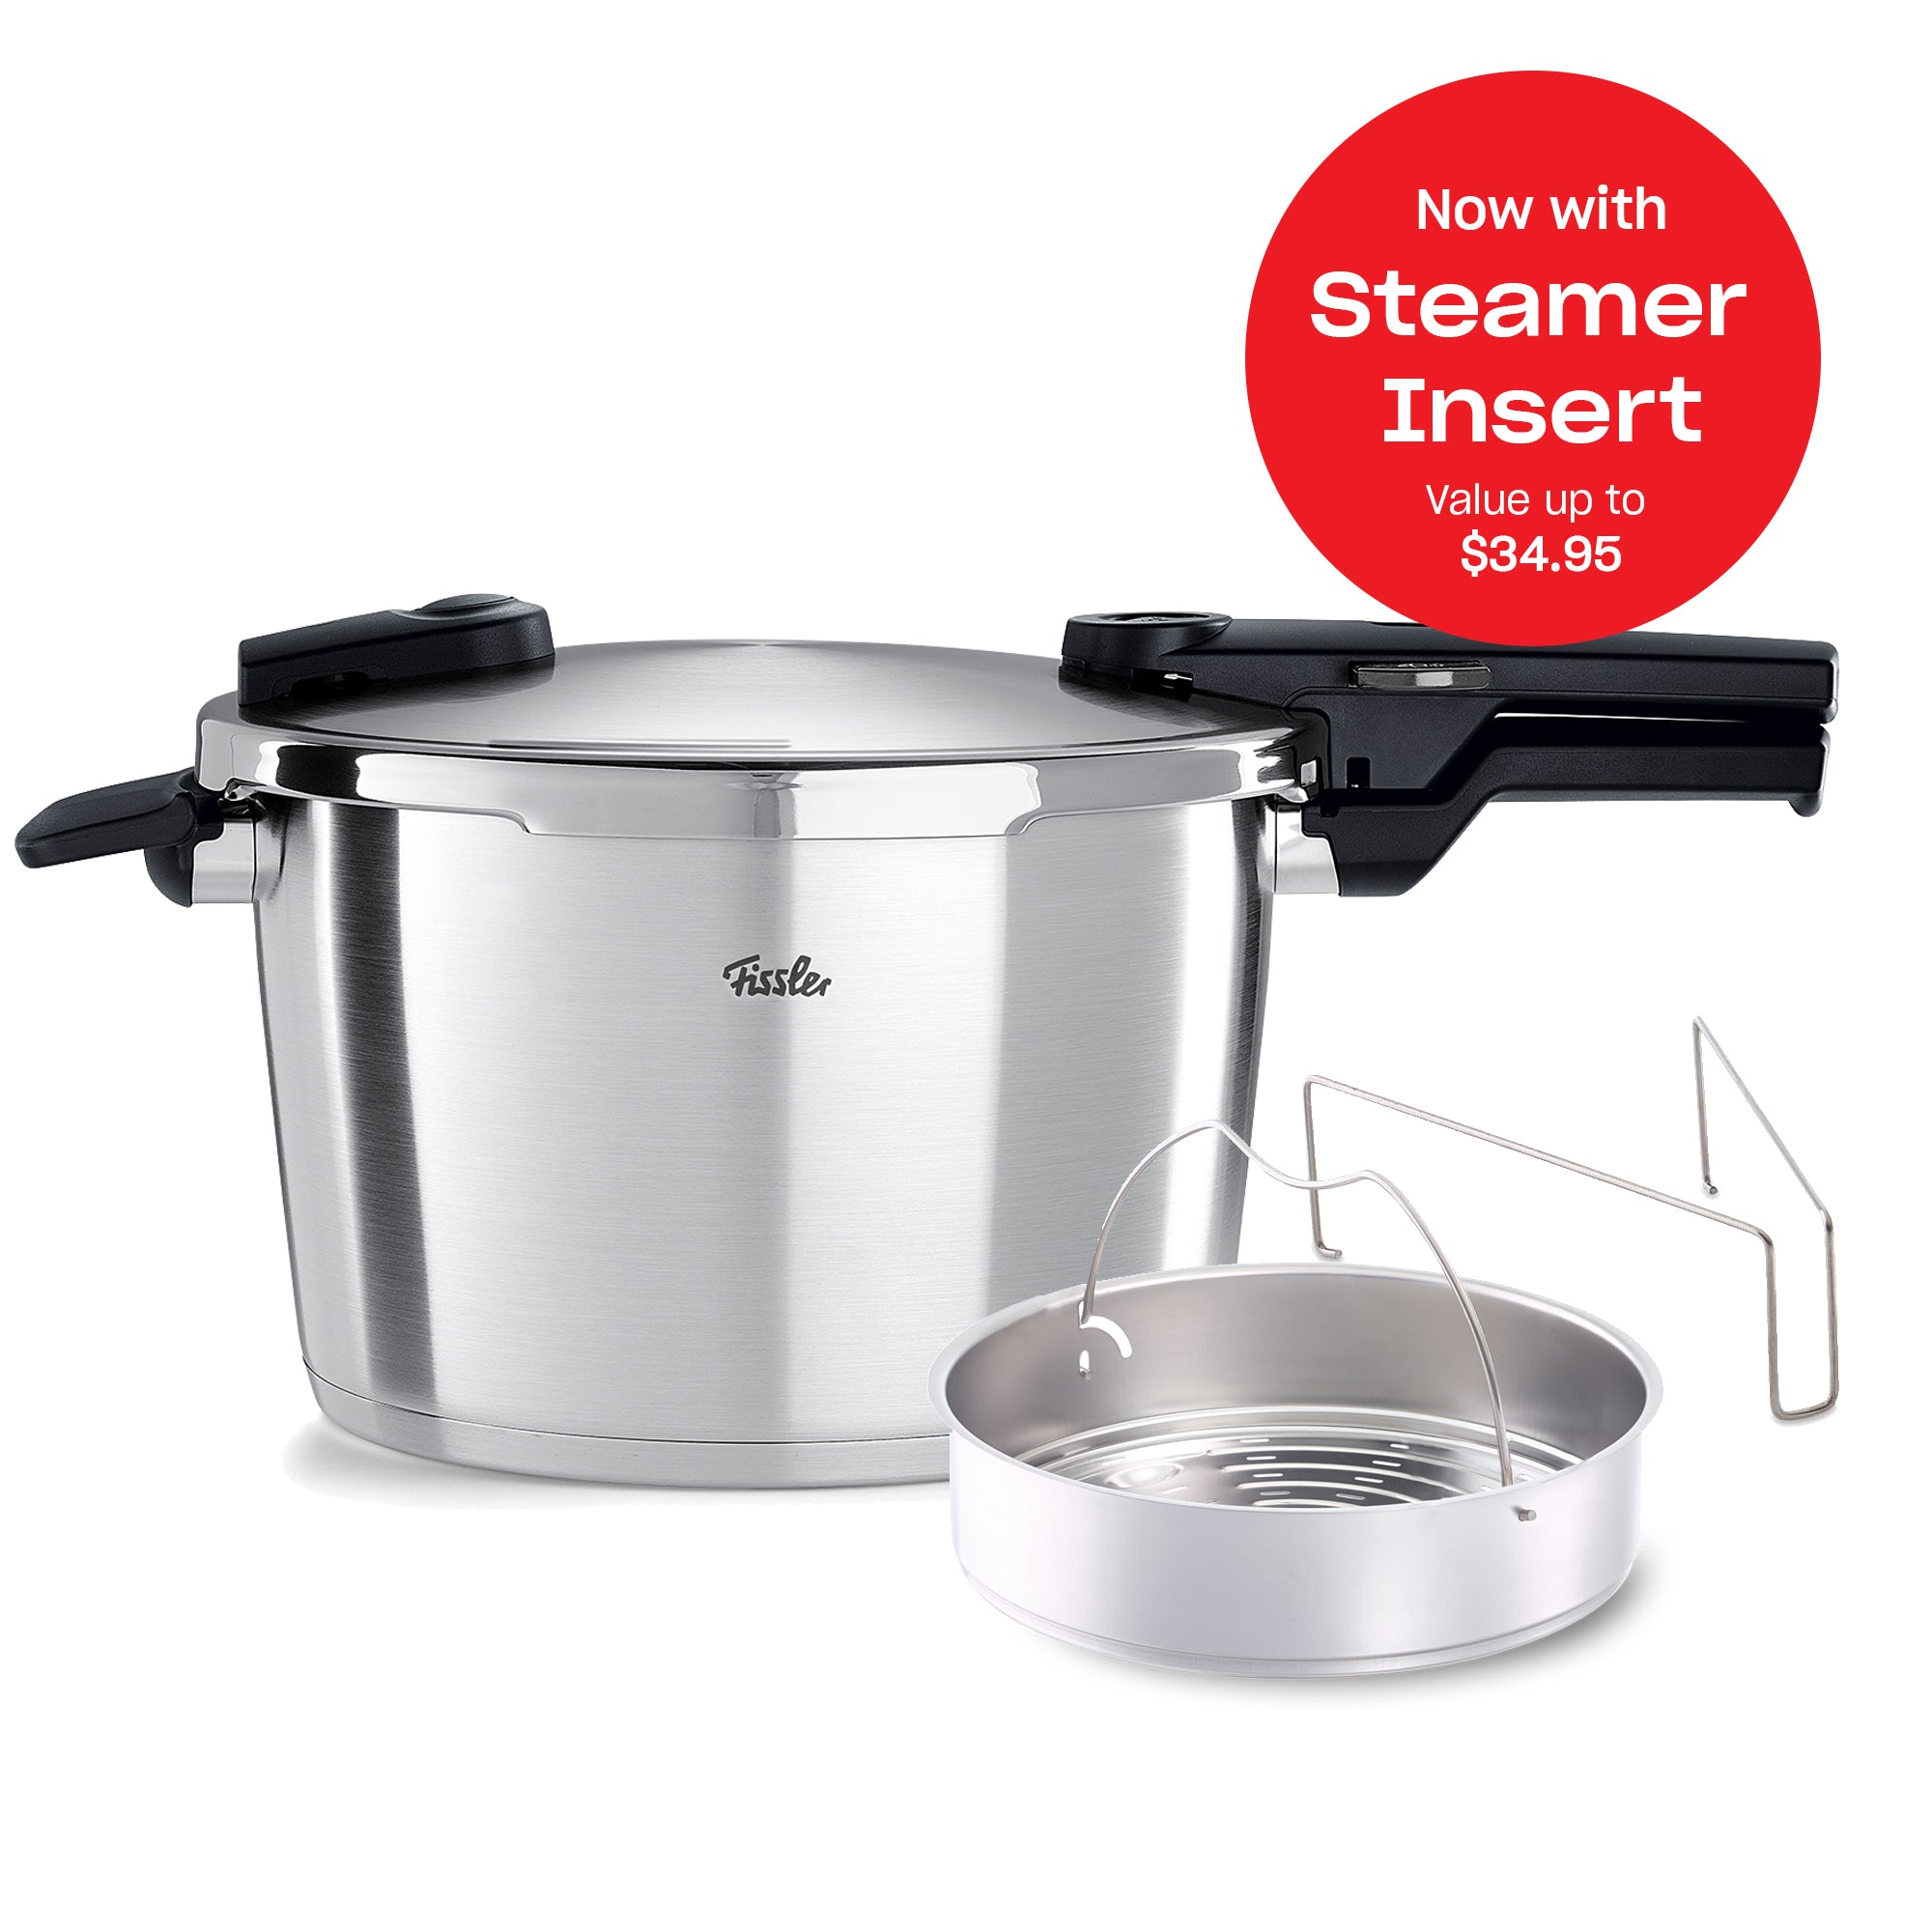
Original pressure cooker inserts for convenient multi-level cooking

Pressure Cooker Inserts

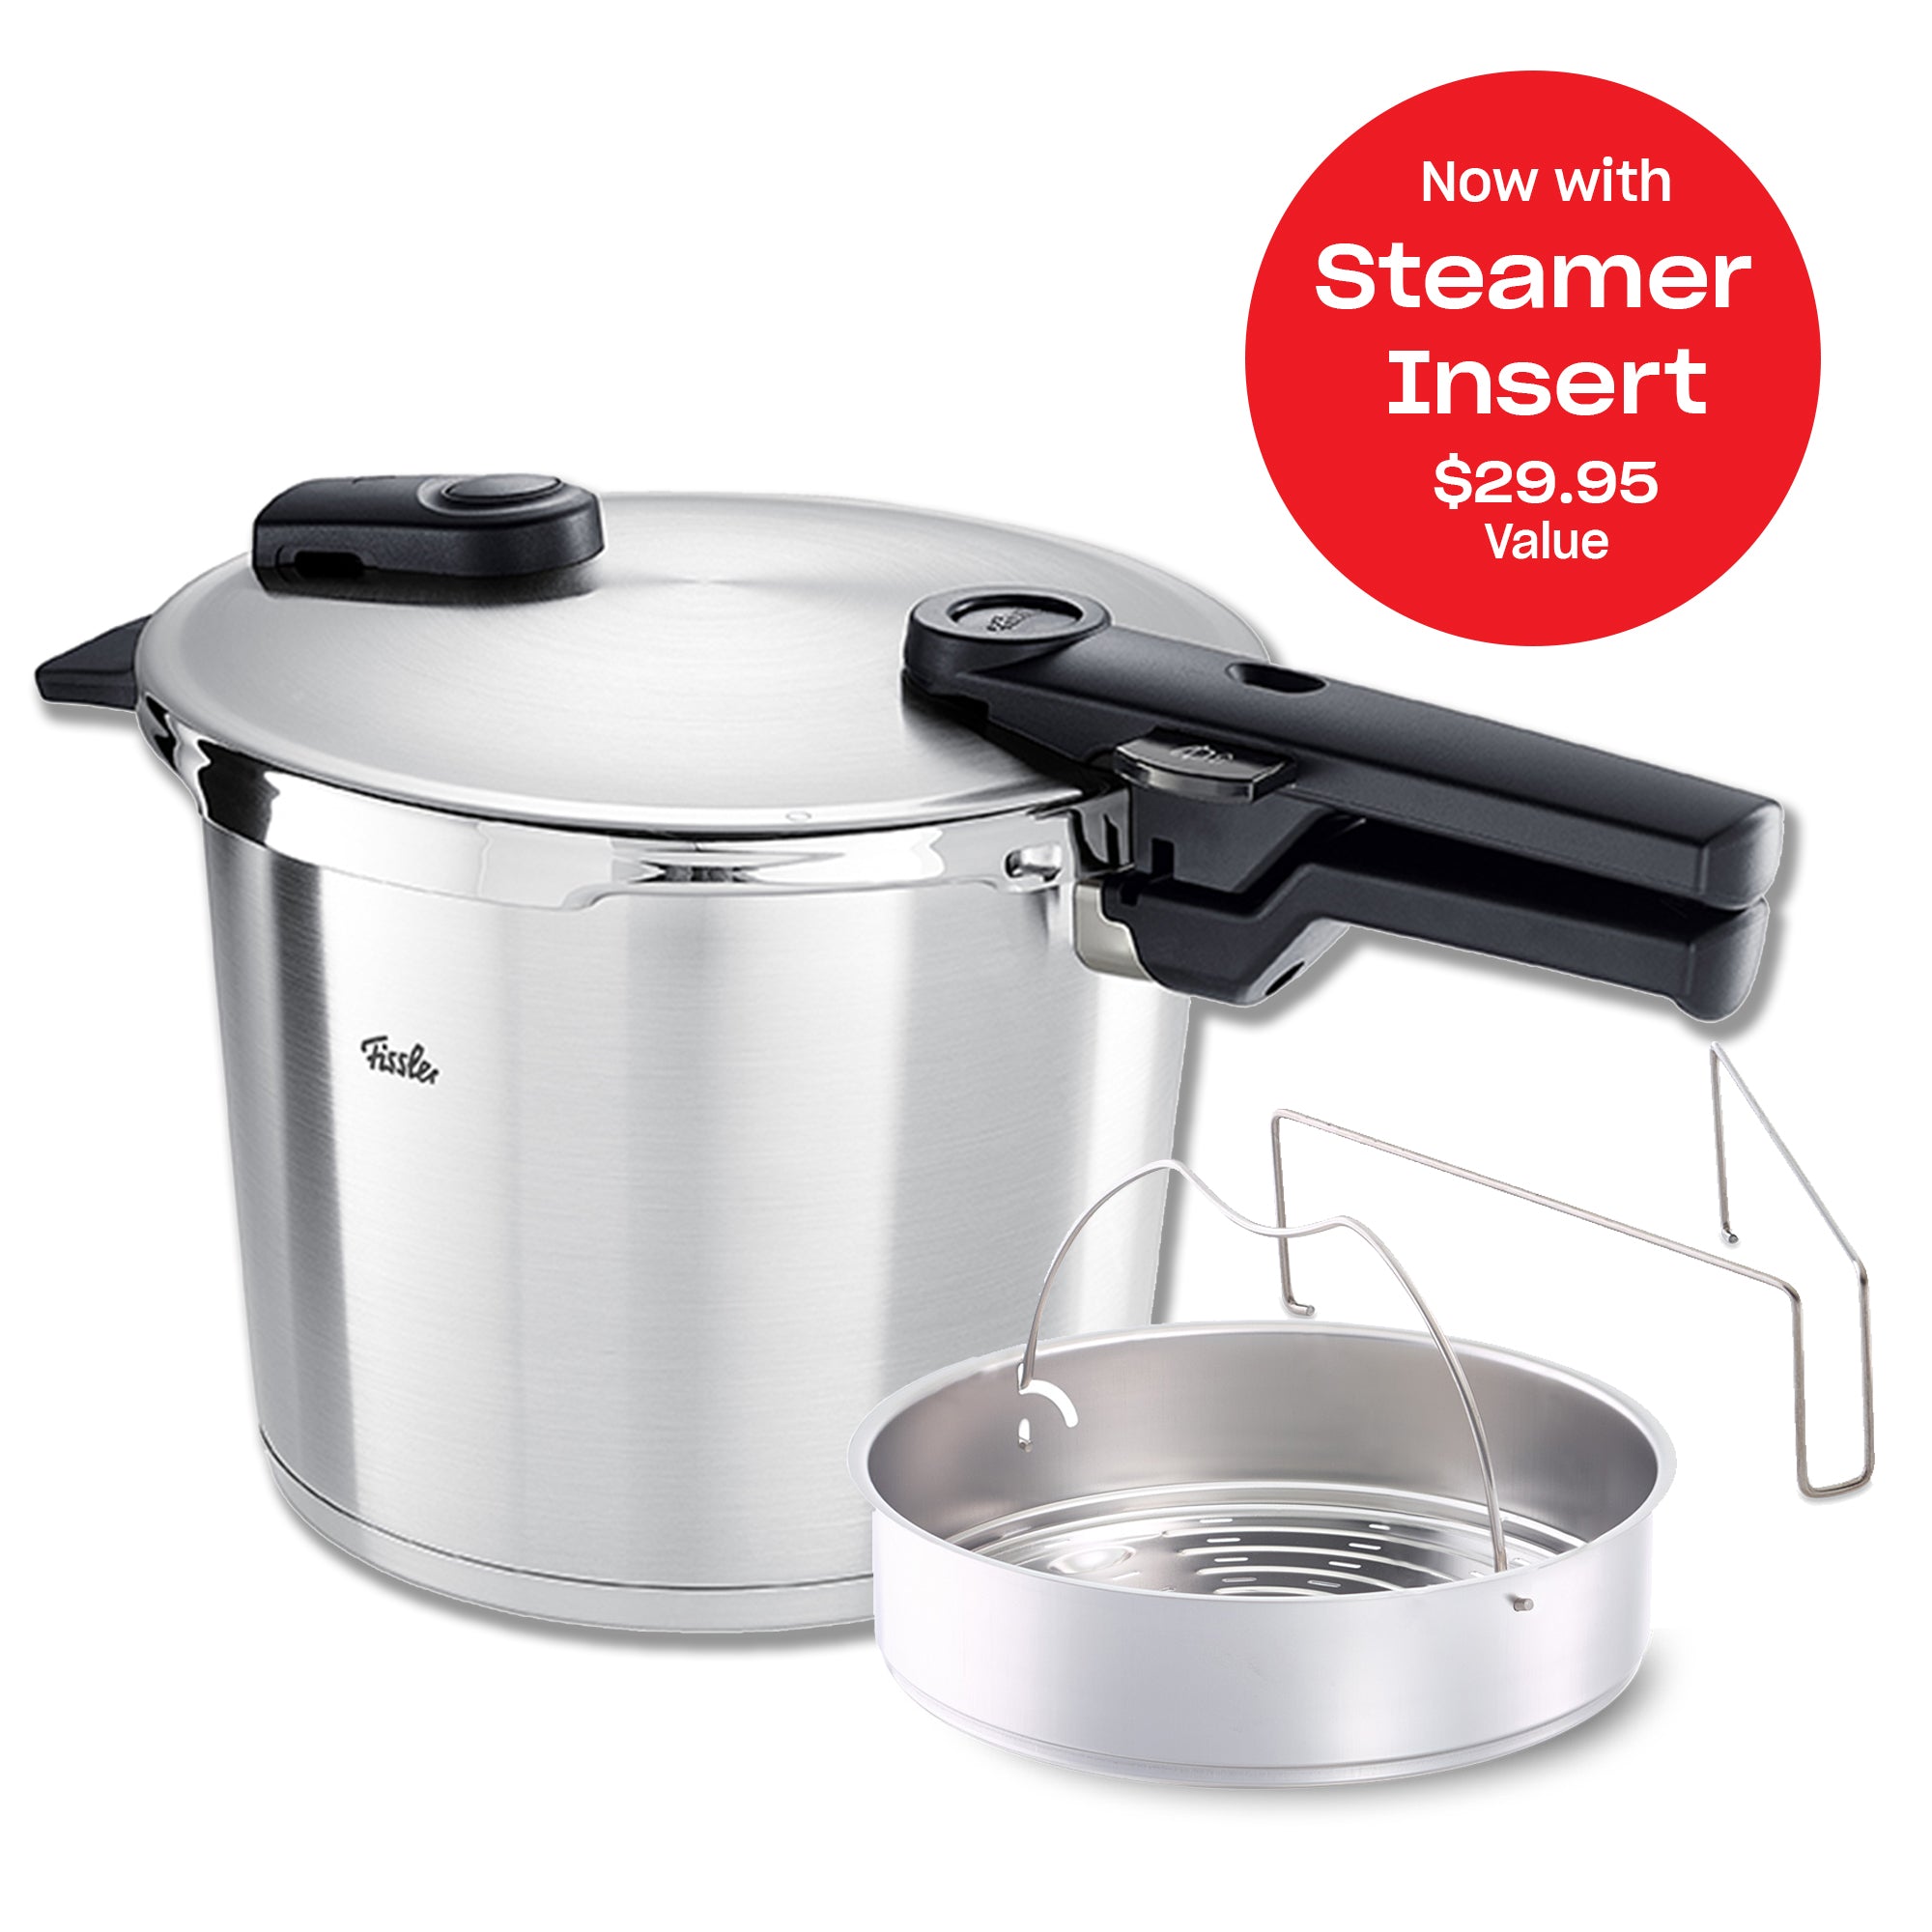
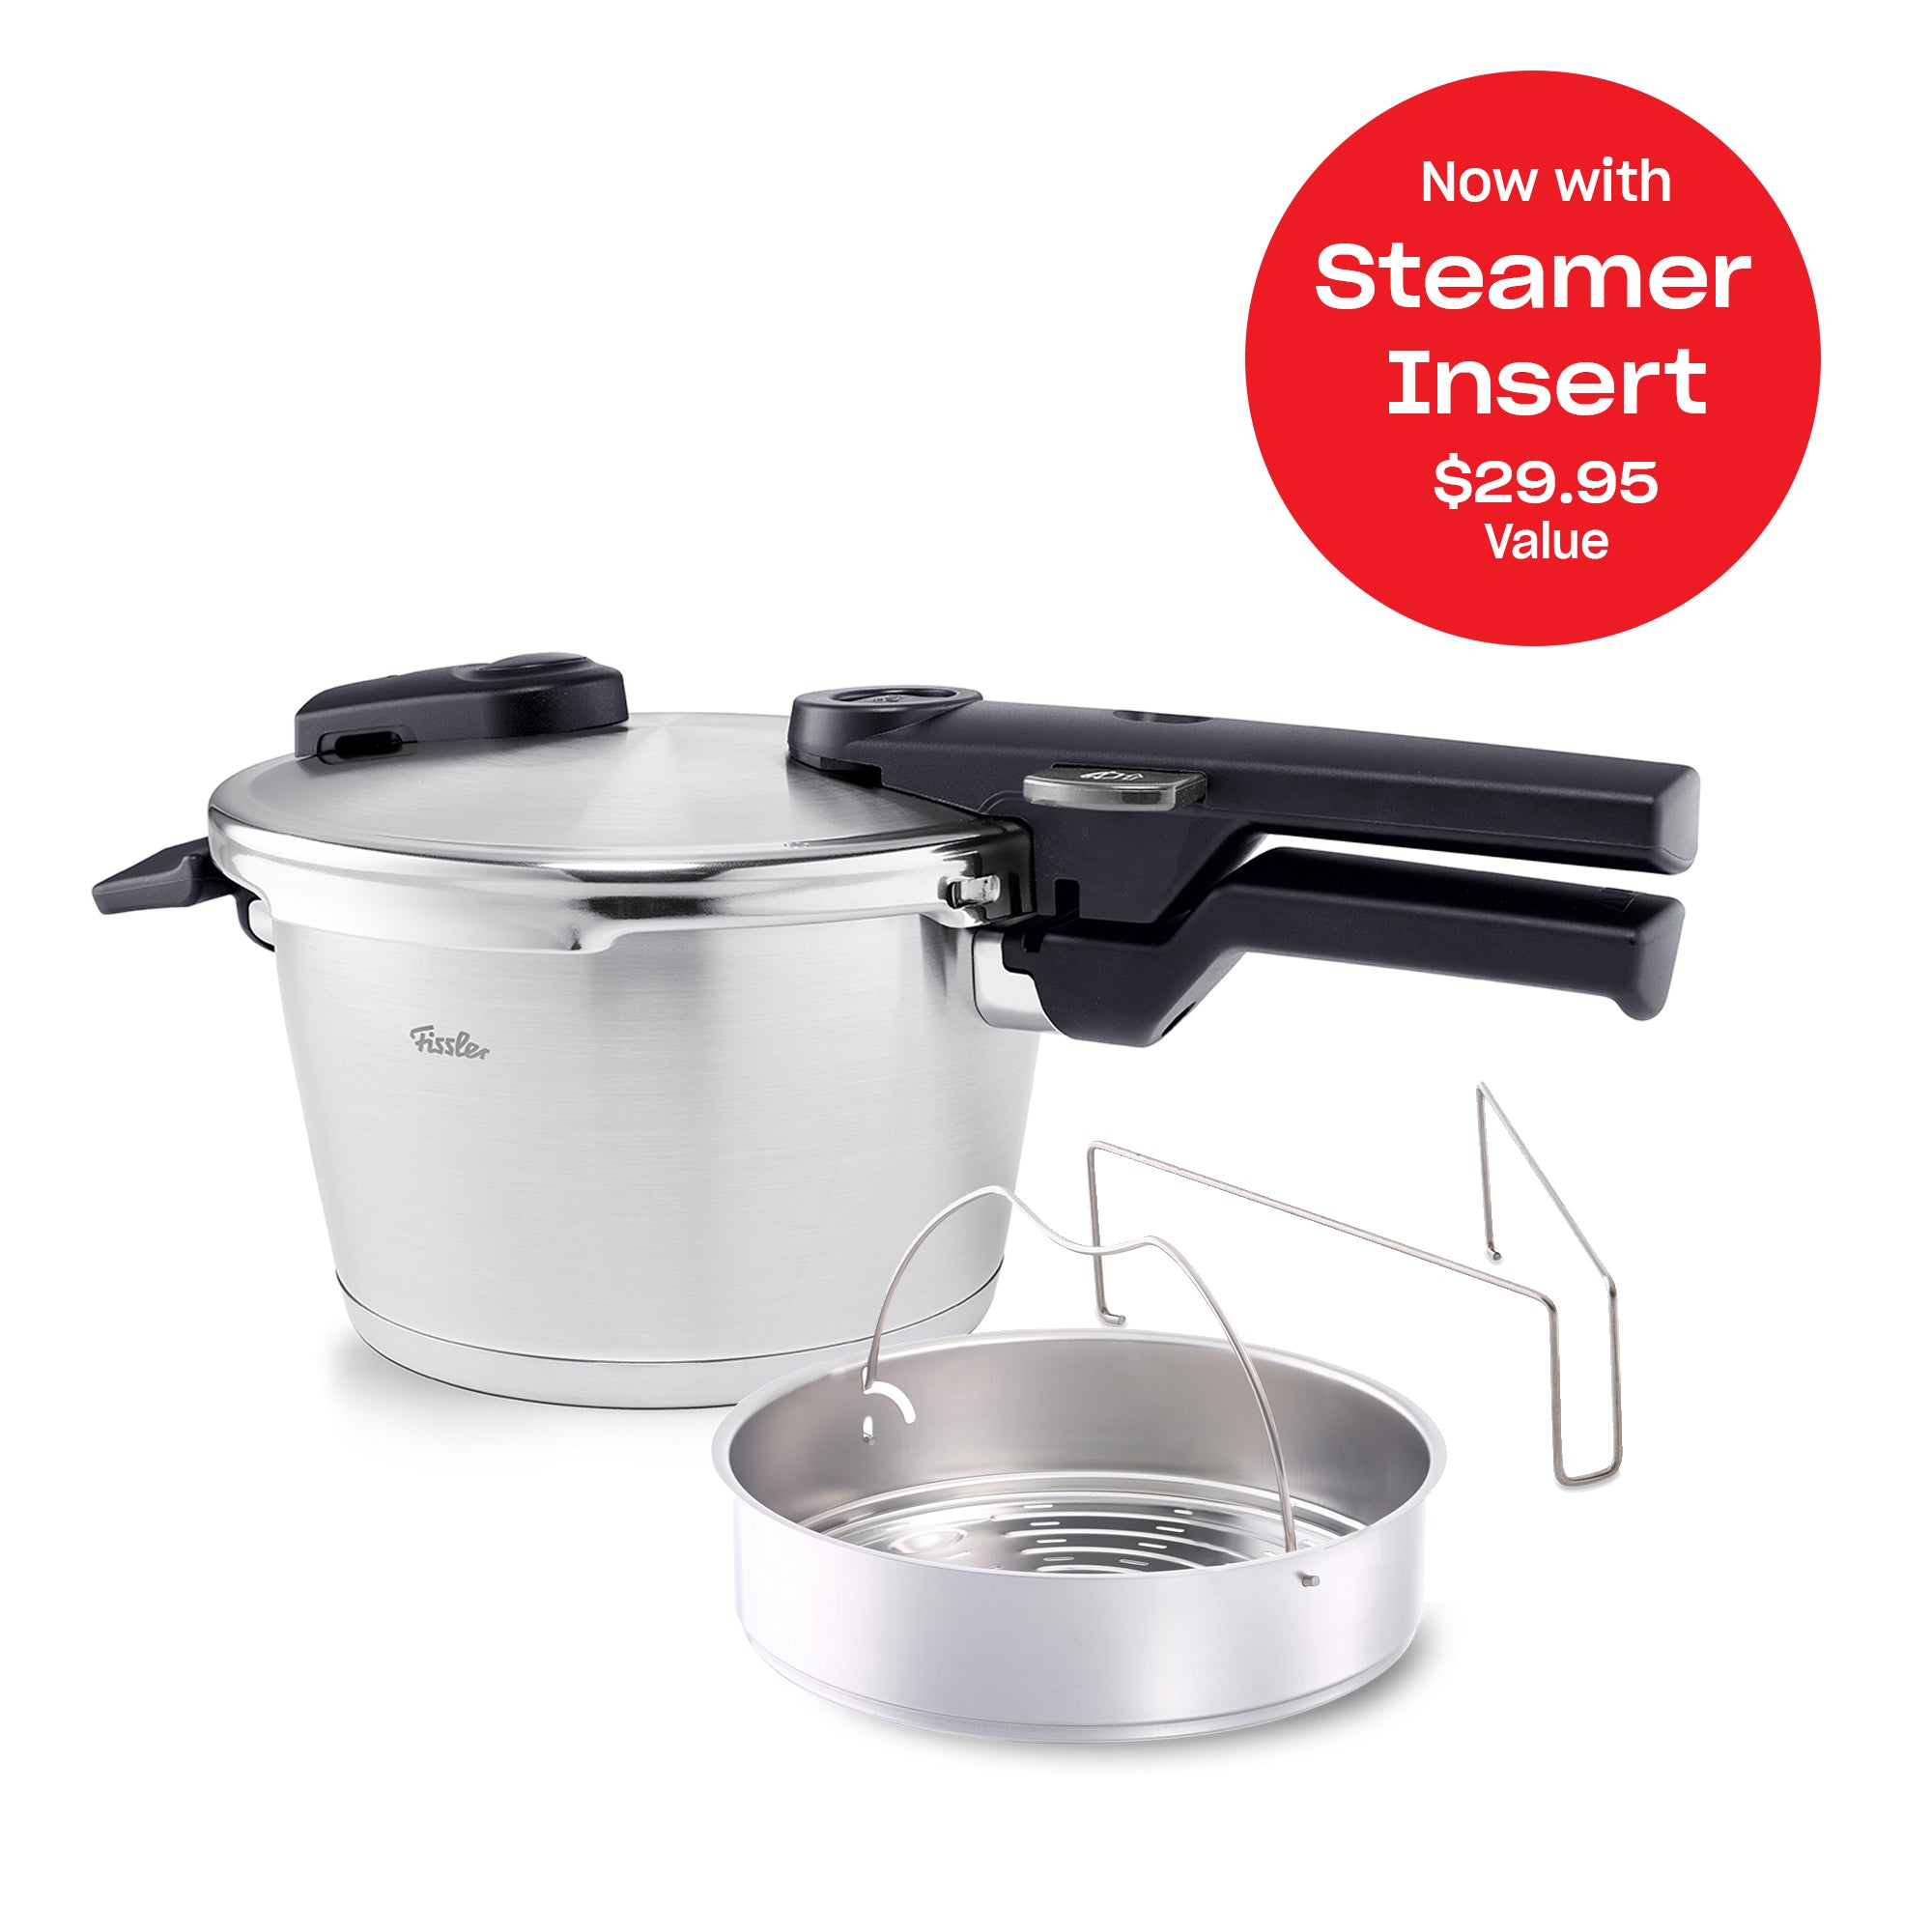
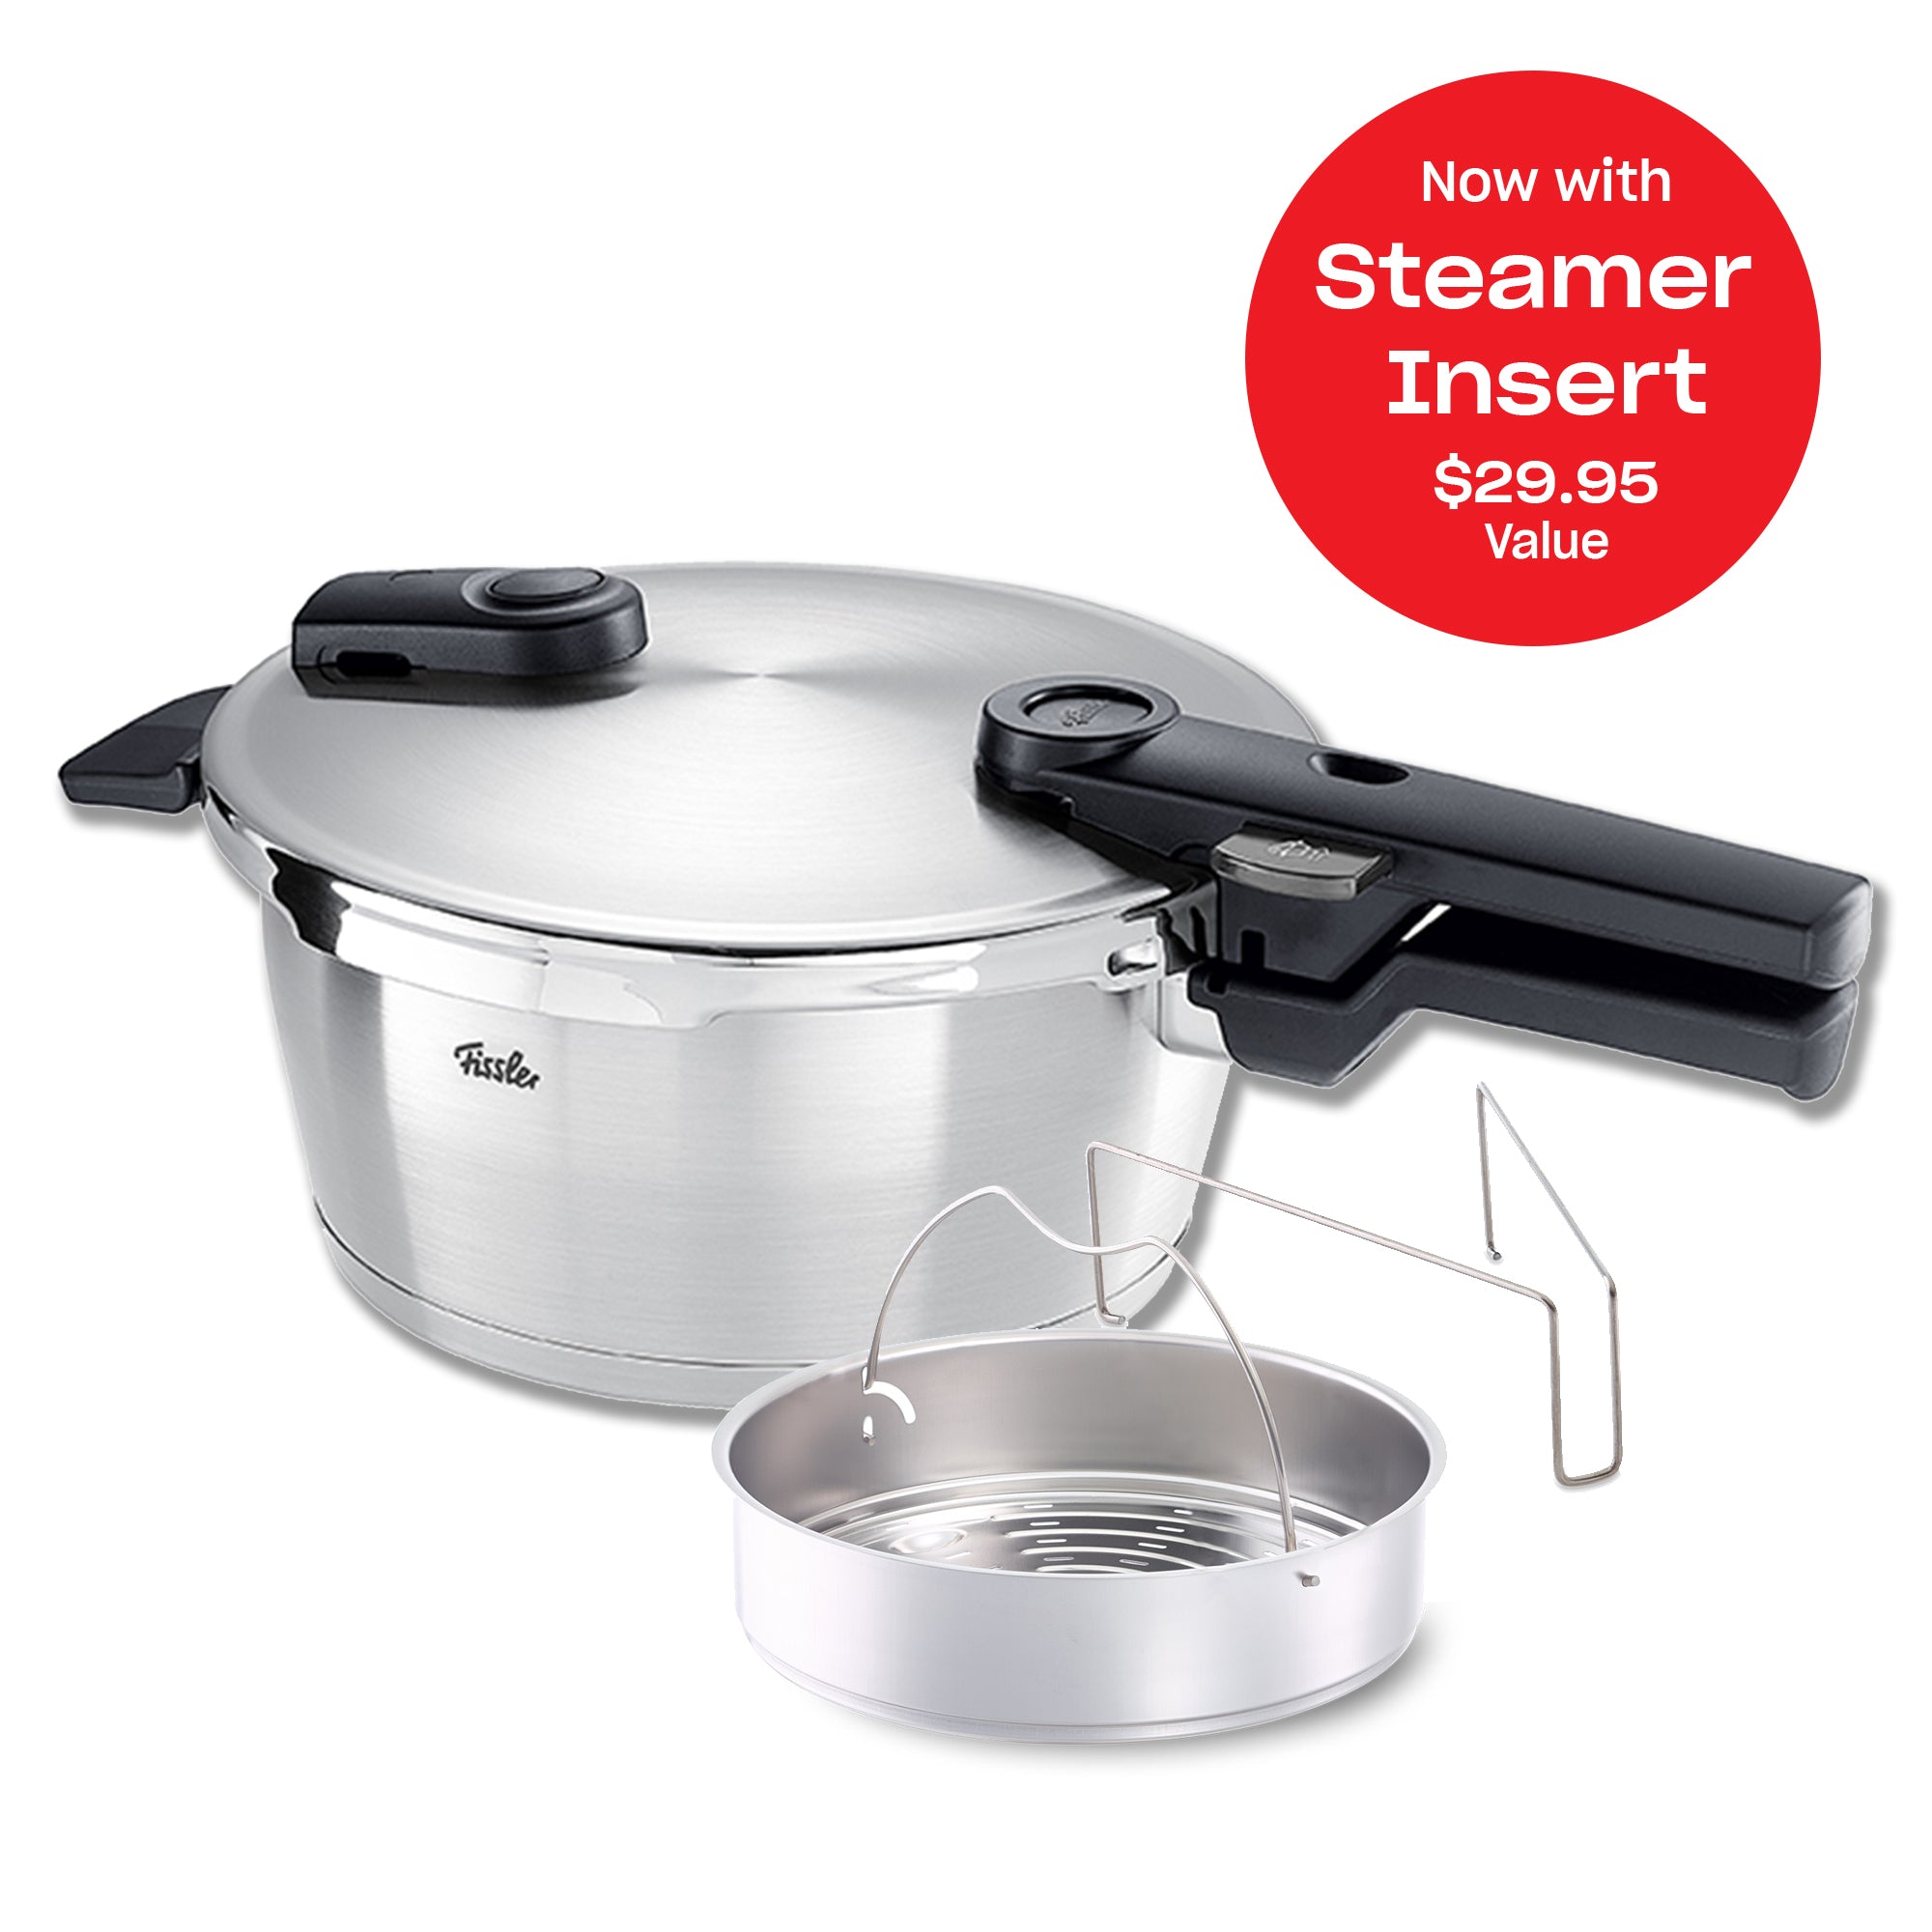
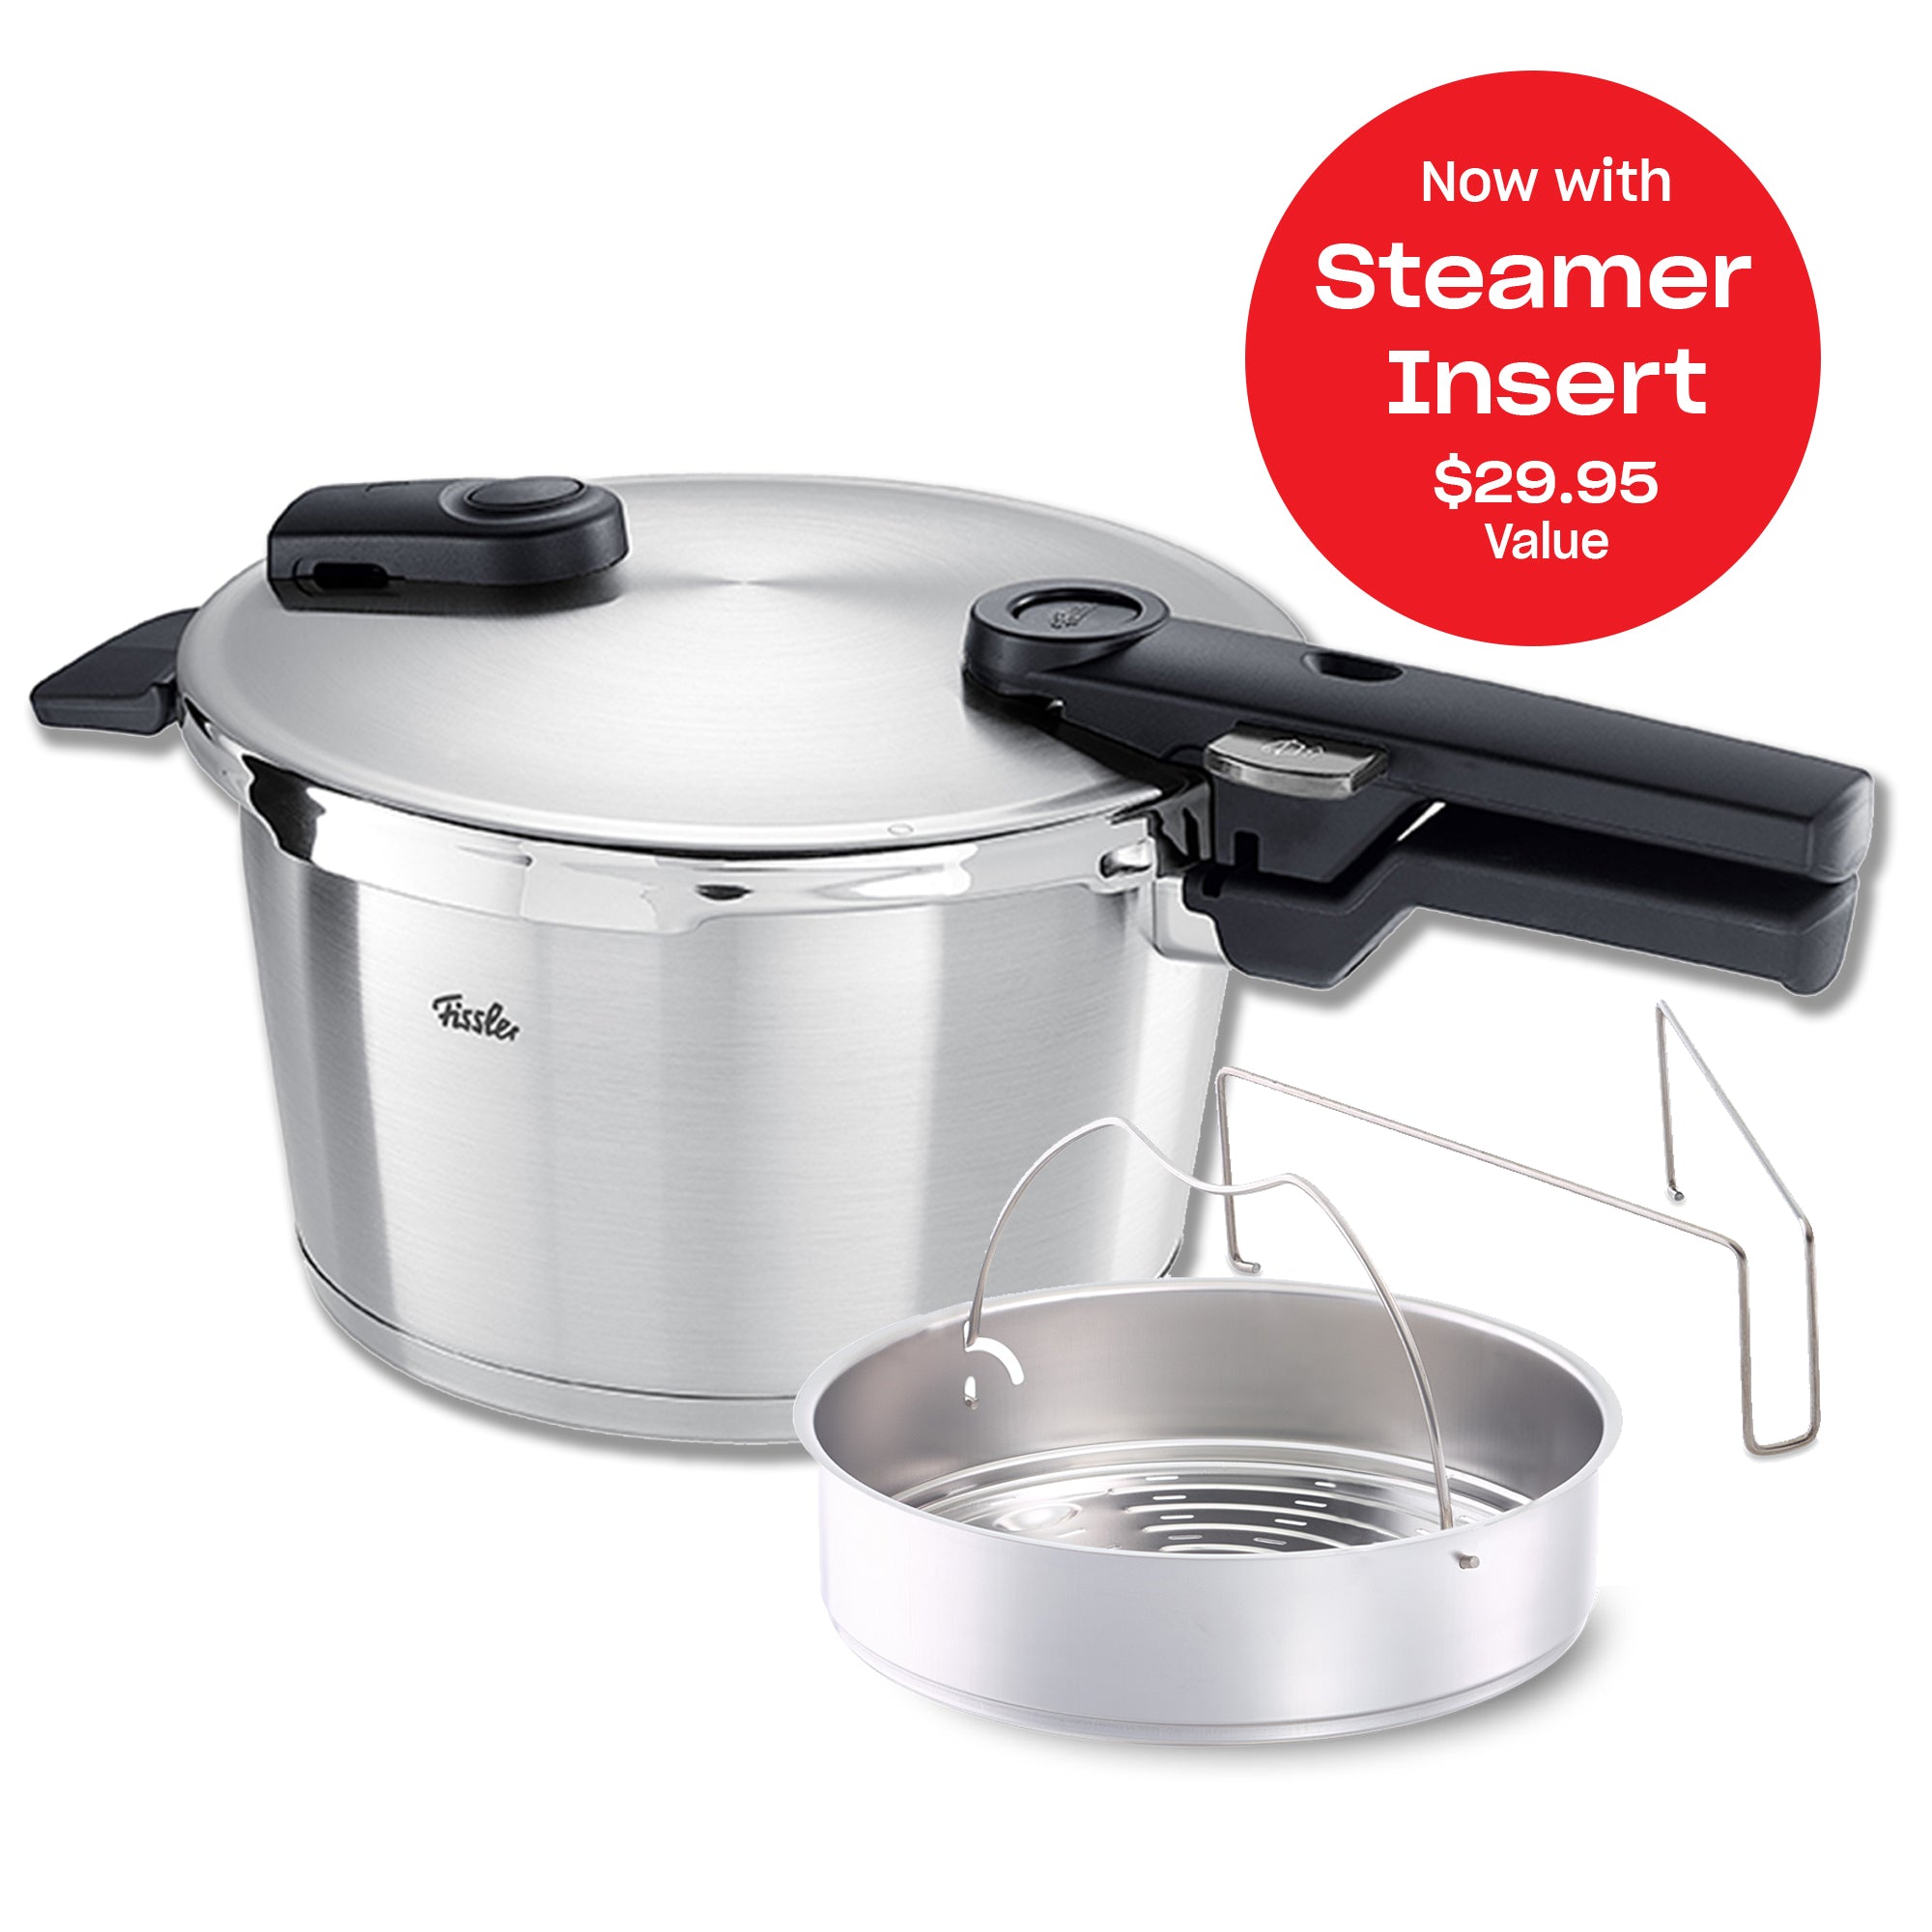
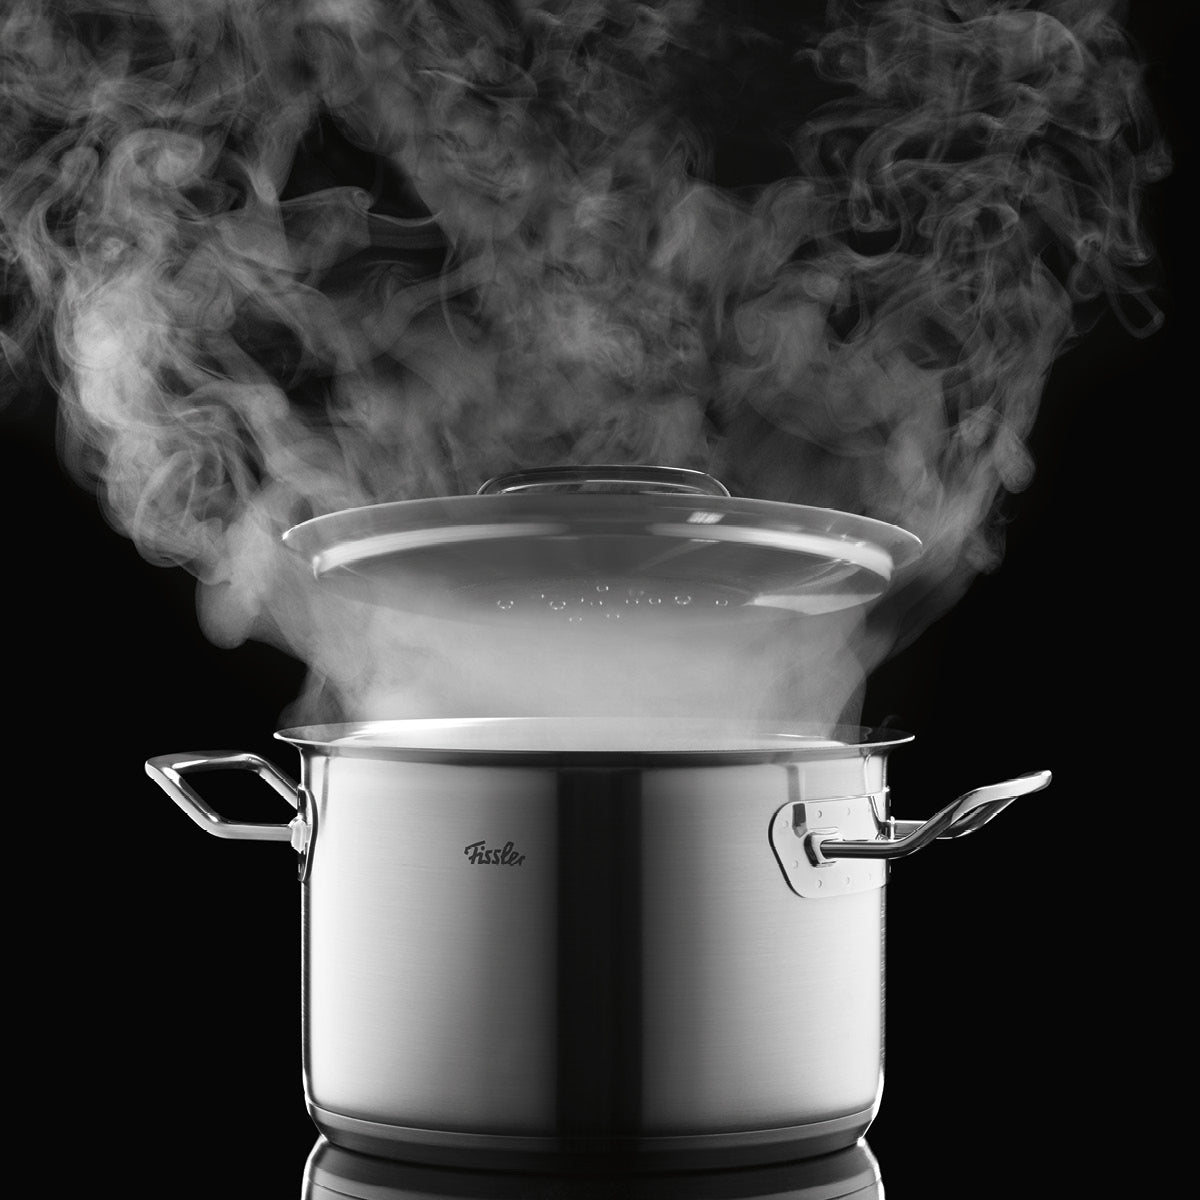
Using a solid (unperforated) steaming insert, multiple dishes can be cooked in "layers" simultaneously in one pressure cooker. This saves energy and time. Perforated steaming inserts allow gentle steaming above liquids such as water or broth. Fissler offers high-quality inserts made of up to 90% recycled 18/10 stainless steel for steaming, gentle cooking, and multi-level pressure cooking.

Filters

Filters
AST_ECOM_SA_114023;6e1d149a14b5eb99ef1258032acf223e;ACC_110736,ACC_110739,ACC_109662,PROD_2256785
Sale priceFrom $29.95 Tax excluded.
AST_ECOM_SA_114024;bb7e24b5c37e6d01d073ddf5ed52c168;ACC_109638,ACC_113993,PROD_2256787
Sale priceFrom $29.95 Tax excluded.

The Pressure Cooker Insert Guide

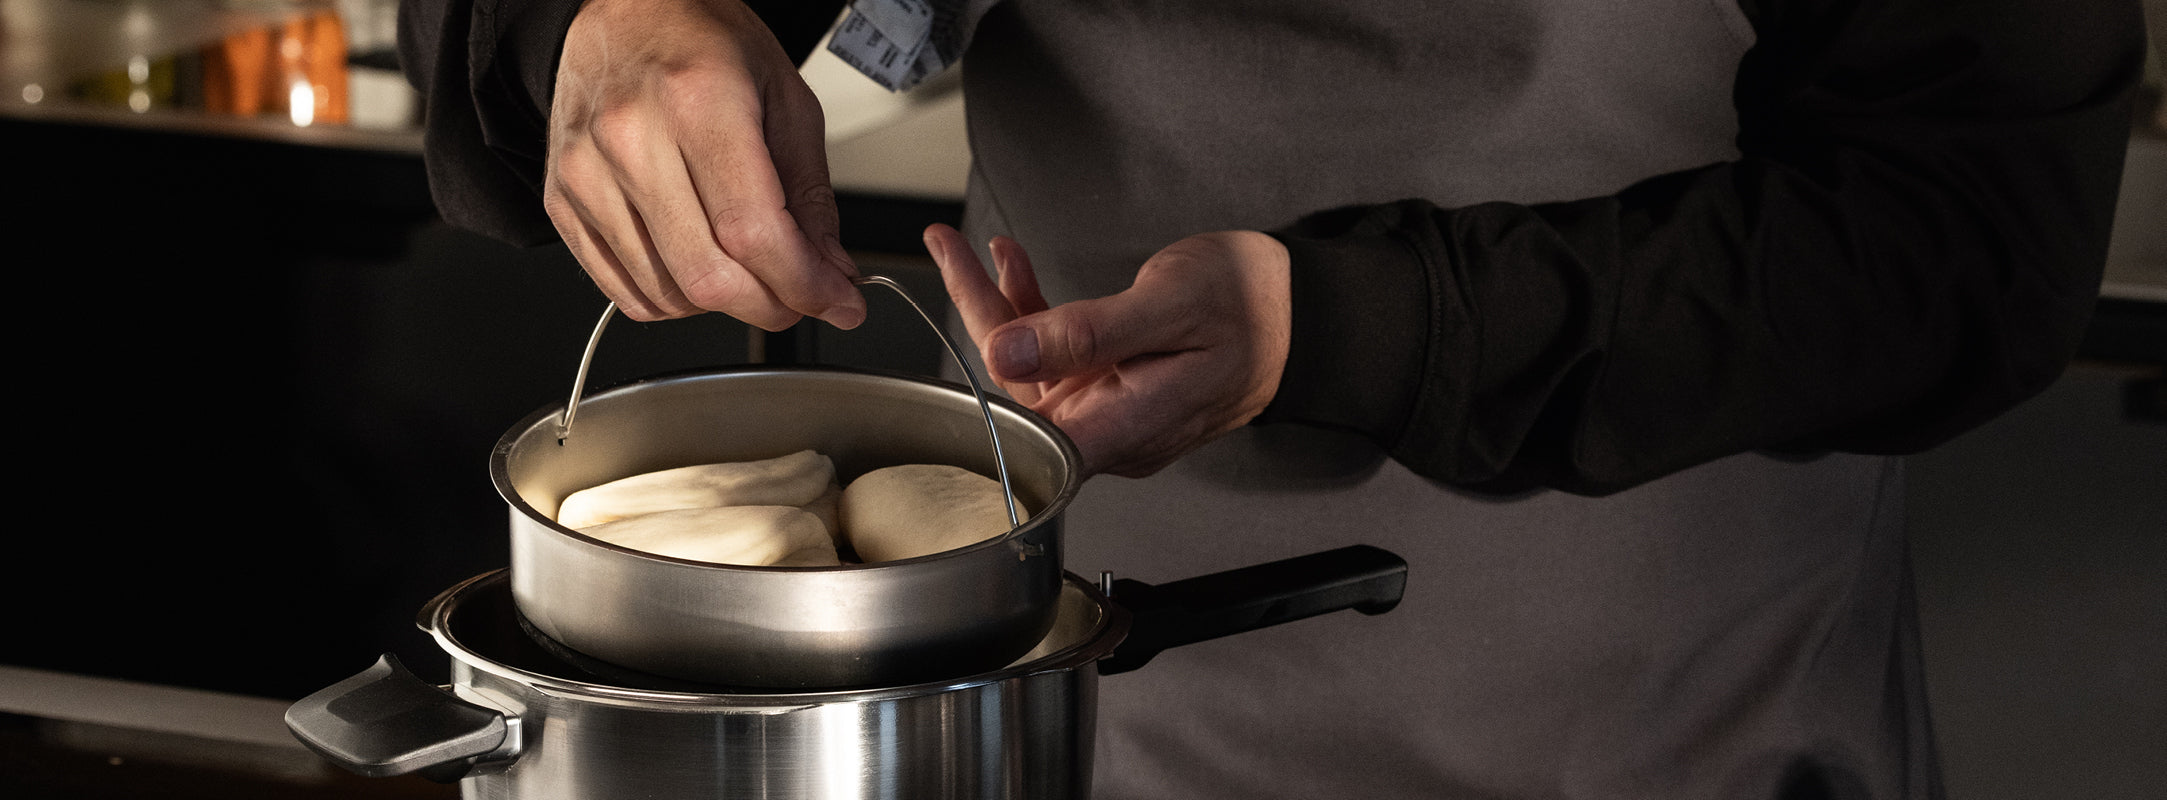
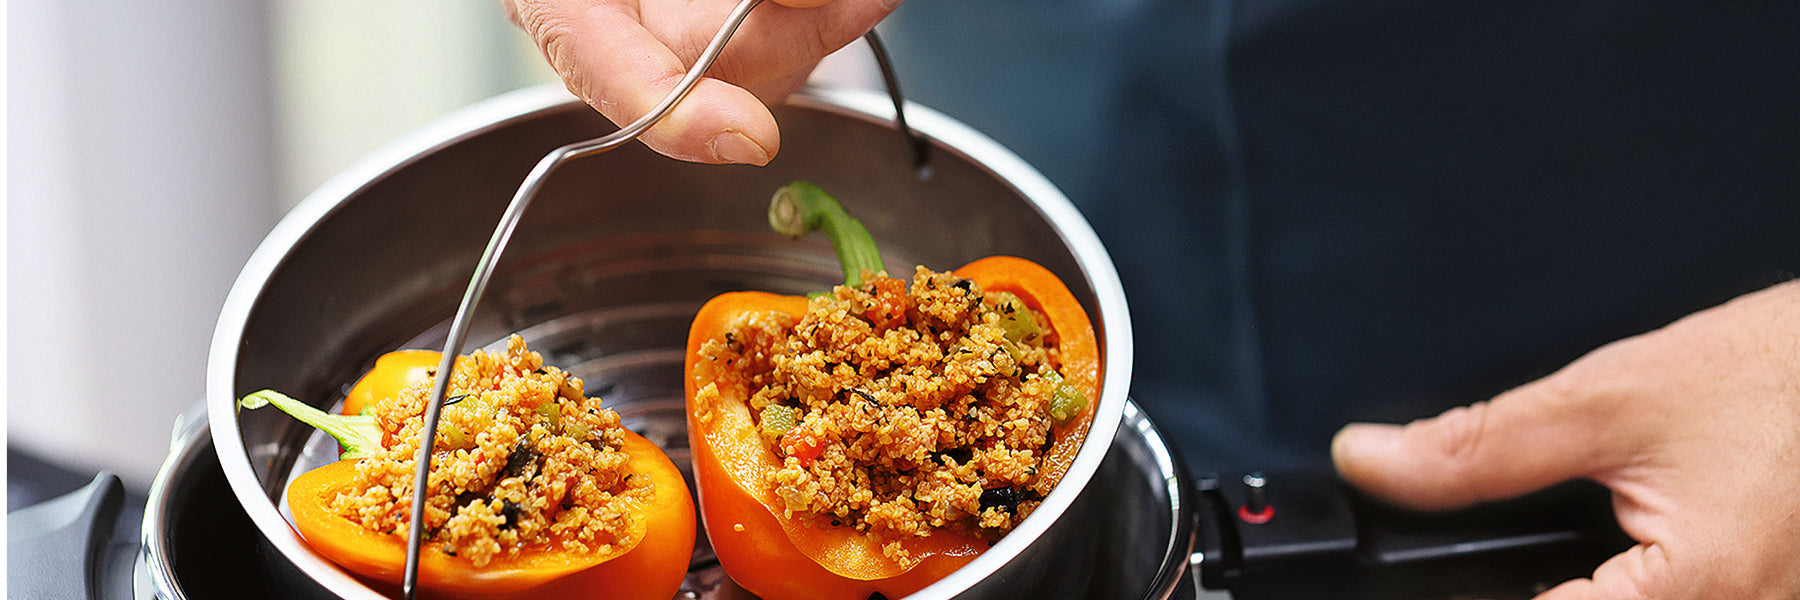
How cooking with a pressure cooker insert works

Use your pressure cooker as usual with the appropriate cooking settings and, if necessary, place the insert with the trivet in the pot. The cooking settings depend on the type of preparation and the dishes. Vitavit® Premium pressure cookers have 3 cooking settings.

Cooking levels and times of Vitavit® Premium pressure cookers

  • Level 3 (°F 241), express setting)
    Corresponds to approx. ⅓ to ½ of the cooking time of a conventional pot and is ideal for meat or stews.
  • Level 2 (°F 235), fast cooking)
    Around 25% longer than level 3 and well suited for less delicate vegetables.
  • Level 1 (°F 230), gentle cooking)
    Around 50% longer than level 3 and ideal for delicate vegetables or fish.


Cooking levels and times of Vitaquick® Premium pressure cookers

  • Level 2 (°F 241, express setting)
    Corresponds to approx. ⅓ to ½ of the cooking time of a conventional pot and is ideal for meat or stews.
  • Level 1 (°F 230), gentle cooking)
    Around 50% longer than level 3 and ideal for delicate vegetables or fish.

Cooking vegetables

  1. Fill the pot with a minimum amount of water.
  2. Use the fill level indicator to measure the liquid.
  3. Place the chopped vegetables into the perforated insert.
  4. Insert the tripod into the pot and place the insert on top.
  5. Set the cooking crown to Level 2 (Vitavit® Premium) or Level 1 (Vitaquick® Premium) and heat on maximum setting.
  6. Reduce the heat once the yellow ring appears and let the contents cook.
  7. After cooking, release the pressure and remove the insert.

At the end of the cooking time, the pressure cooker can be safely depressurized using the steam release on the handle. With the Vitavit® Premium, you can also release pressure via the cooking crown.

Steamed broccoli using a pressure cooker insert

  1. Fill the Vitavit® Premium pressure cooker with a minimum amount of water.
  2. Place broccoli in the perforated insert.
  3. Set the tripod into the cooker and place the insert on top.
  4. Set the cooking crown to “Steam Cooking” and begin heating.
  5. No pressure builds – the cooker can be opened at any time.
  6. Tip: Use a fork to remove the hot insert safely.

Cooking in layers

  1. Sear the meat briefly in the pressure cooker at the beginning to keep it juicy.
  2. Add some broth or another liquid and optionally add herbs or spices.
  3. Clean and evenly cut the side dishes like vegetables. Place the sides in the steamer or cooking insert.
  4. Place the corresponding tripod on the bottom of the pot over the meat and set the insert on top.
  5. Close the lid. Once you hear the click at the handle indicating the lid is locked, bring the pressure cooker to a boil at full heat. Pressure starts to build.
  6. When the first ring on the cooking valve appears, the cooking time starts, and the heat can be reduced.
  7. After the cooking time, release the steam. Depending on the model, use the steam release function on the cooking crown or handle. Only open the cooker once it is completely depressurized.
  8. Remove the insert first. Thanks to the slightly inward-curved handle, this works particularly well using a tablespoon.

Juicing

  1. Fill the pot with a minimum amount of water. 
  2. Place the fruit (or vegetables) in the perforated insert.
  3. Place the tripod in the pressure cooker and set the insert on top.
  4. Set the cooking crown to Level 3 and heat the pot at maximum stovetop power. 
  5. Reduce the heat as soon as the yellow ring appears and allow the pot to cook. 
  6. After the cooking time, release the steam using the steam release function on the cooking crown or handle, remove the insert, and pour the juice from the pot for further use.

Tip: Most of the water in the pot evaporates during cooking. To obtain 100 % pure juice, you can place a second, unperforated insert on a tripod to catch the juice inside the pressure cooker. Place the perforated insert with the food on top of the solid insert. Be sure to observe the maximum fill level: This method requires a pressure cooker larger than 4.8 qt.

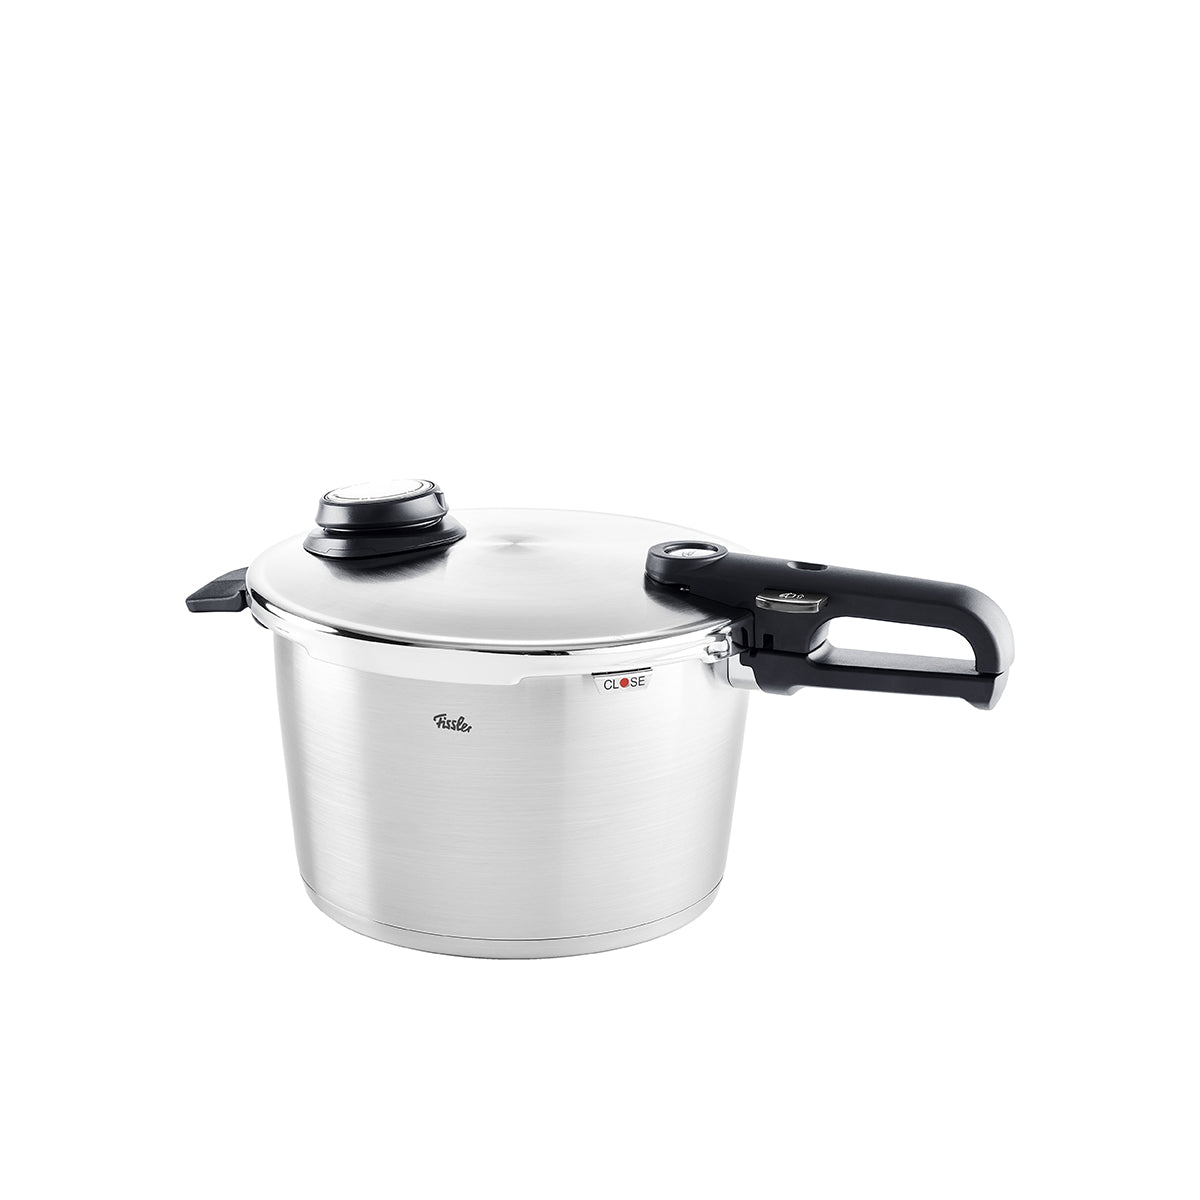
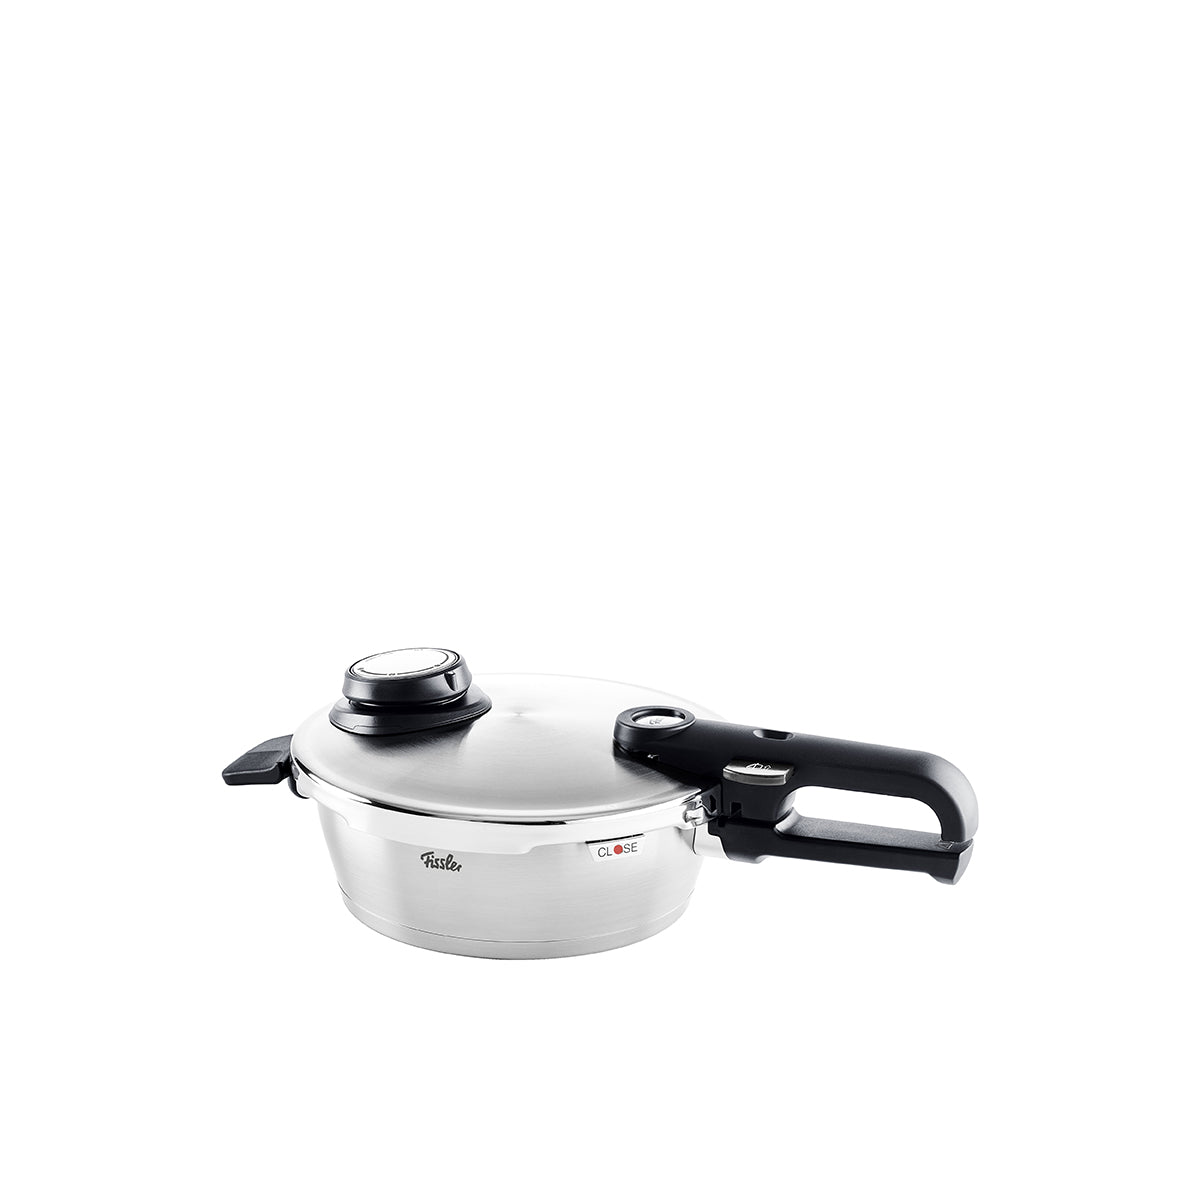
Original Inserts for Fissler Pressure Cooker

  • perforated, 10.2 in
  • perforated, 8.7 in
  • solid, 10.2 in
  • solid, 8.7 in

Each insert comes with a trivet. This allows for two-tier cooking inside a pressure cooker.

Pressure cooker accessory perforated insert (includes tripod)

The perforated insert is also known as a steaming insert. Its special perforation allows steam from water or broth to circulate freely. This makes it ideal for gently and flavorfully steaming delicate foods like fish or tender vegetables.

Perforated pressure cooker insert (incl. trivet), (8.7 in):

  • Up to 90% recycled 18/10 stainless steel
  • With trivet as insert support
  • Dishwasher-safe
  • Made in Germany

Pressure cooker accessory unperforated insert

The unperforated insert is a cooking insert. It allows you to prepare an additional dish with broth or sauce with ease. Thanks to its closed bottom, no liquid passes through—so any dish can be cooked just like in a separate pot.

Unperforated pressure cooker insert (incl. trivet), (8.7 in):

  • Up to 90% recycled 18/10 stainless steel
  • With trivet as insert support
  • Dishwasher-safe
  • Made in Germany

Frequently asked questions

Do you have questions about our products? You can find answers to the most frequently asked questions here. Or send us an email at customerservice@fissler.com.